


Many homeowners ask, “Is it possible to install sod over rocky soil?” At first glance, laying sod and hoping for the best might seem easier. However, your soil’s condition directly affects whether your lawn thrives or struggles to take root.
Rocky soil creates a harsh environment for new sod. Stones and debris interfere with root penetration, disrupt water distribution, and limit the essential contact between sod and nutrient-rich topsoil. Without proper root development, your lawn faces browning, thinning, and eventual failure.
This blog explores the challenges of installing sod over rocky soil and how to overcome them. You’ll learn why sod often struggles in these conditions, what preparation steps improve results, which grass types perform better in difficult soil, and when to call in professional help.
If you want a lush, long-lasting lawn — even on rocky terrain — this guide gives you the tools to make it happen.
Why rocky soil causes problems for sod
Rocky soil makes it difficult for sod to develop strong, deep roots. Healthy sod needs direct contact with loose, nutrient-rich soil to anchor itself and absorb water efficiently. Rocks block that contact, limiting root penetration and weakening the foundation your lawn needs to grow thick and vibrant.
As a result, sod laid over unprepared rocky ground often struggles to establish and may die off in patches.
Water management also becomes a serious challenge in rocky soil. Large stones interfere with natural drainage patterns, creating dry spots or oversaturated zones. Sod roots need consistent moisture — not puddles or parched soil — to thrive. Rocks reduce the soil’s ability to hold water and prevent nutrients from reaching the root zone, which can quickly lead to browning and decay.
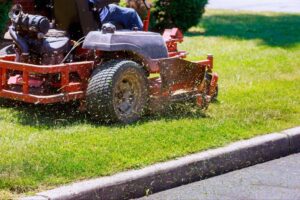
In the long run, rocks left in place increase maintenance costs and headaches. They make mowing uneven and harder on your equipment and create compacted areas that resist aeration and fertilization. As your lawn matures, these hidden obstacles continue to block healthy root growth and prevent your sod from fully integrating into the landscape.
To create a lasting, resilient lawn, remove as many rocks as possible before laying sod. Doing so builds the strong, supportive foundation your lawn needs to thrive in every season.
When sod might survive over rocky soil
In some cases, sod may grow successfully over rocky soil, but only under specific conditions. If the rocks lie close to the surface and remain sparse, your sod might still develop strong enough roots.
For example, small stones scattered throughout otherwise healthy topsoil typically do not block root penetration or water absorption. As long as the grass roots reach soil within the first few inches, they have a fair chance of taking hold.
Shallow rocky layers that sit beneath a few inches of clean, nutrient-rich topsoil also present less of a barrier. If you can spread topsoil over the rocky surface and create at least three to four inches of root-friendly soil, your sod may still thrive. This buffer zone allows moisture, nutrients, and oxygen to reach the roots during establishment.
However, the success of sod in these scenarios depends on the depth and severity of the rocky layer. Thick, compacted stone beds or jagged rocks near the surface prevent proper root growth and lead to dry, unhealthy turf.
Always evaluate your soil’s structure before installation. If rocks dominate the topsoil or sit too close to the surface, removing or amending the area gives your lawn a better chance to flourish.
How to properly prepare rocky soil for sod
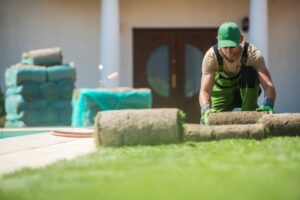
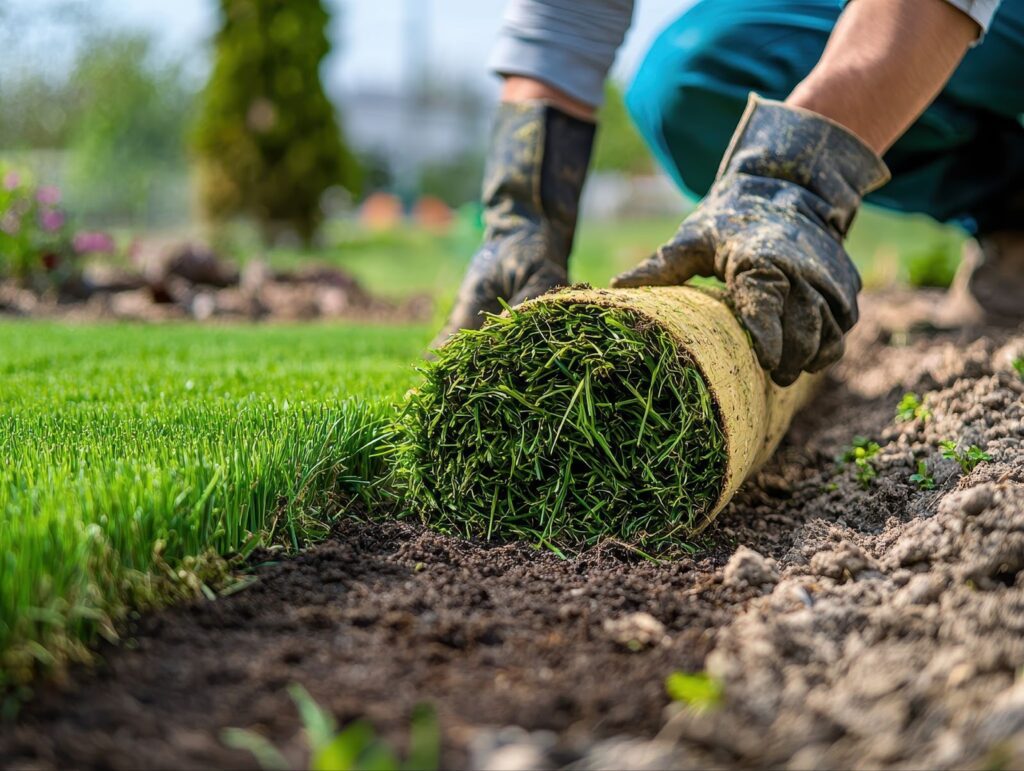
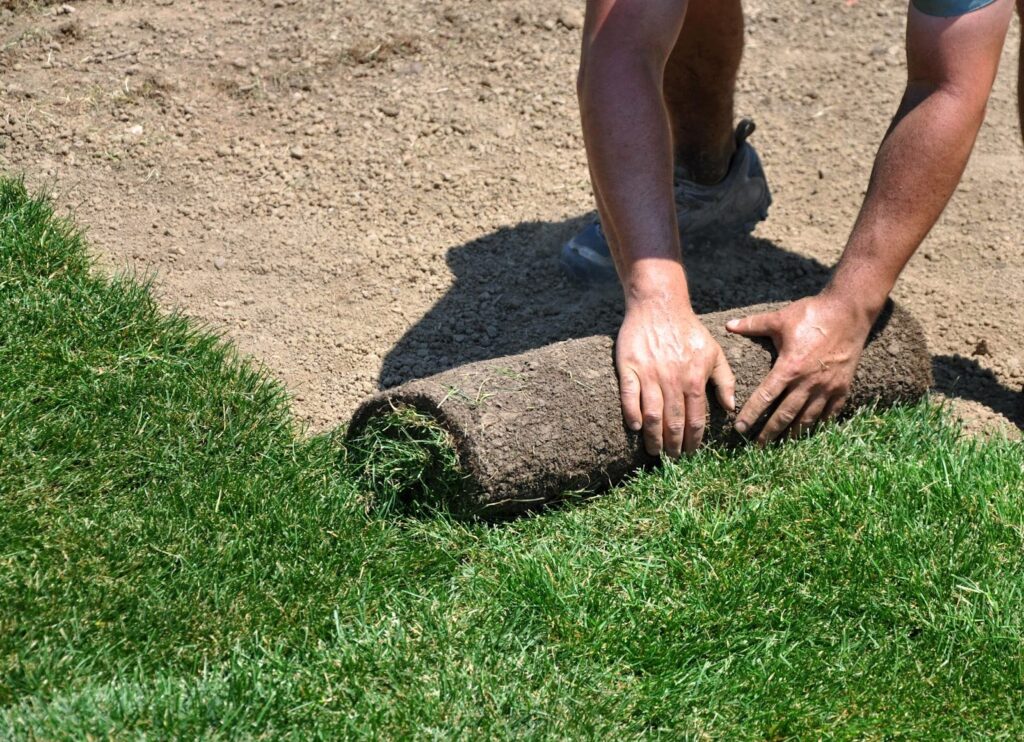
Installing sod over rocky soil requires careful preparation to give the new grass the best chance to grow and thrive. Follow these essential steps to transform rough terrain into a healthy foundation.
Step 1: Remove large rocks and debris
Start by clearing the surface of any rocks, gravel, or construction debris that blocks root contact. Use a rake, shovel, or landscape screen to remove stones larger than two inches across. This first step prevents air pockets, improves root-to-soil connection, and eliminates tripping hazards.
Step 2: Till the soil
Use a rototiller to loosen compacted soil and break up rocky patches. Tilling helps expose buried rocks, which you should remove before continuing. Loosening the soil also improves drainage and allows roots to grow deeper once the sod is installed.
Step 3: Add topsoil or compost
Spread a layer of topsoil or well-aged compost across the area to increase organic matter and improve soil texture. Aim for 4 to 6 inches of healthy, nutrient-rich soil depth. This layer ensures that sod roots have enough room to anchor and absorb water and nutrients effectively.
Step 4: Grade the area for drainage
Use a landscaping rake or grading tool to level the surface and create a slight slope away from buildings or walkways. Proper grading prevents water from pooling in low areas, which could drown roots or promote fungal disease. Smooth, graded surfaces also make sod installation faster and more consistent.
Final tip: Build at least 4 to 6 inches of healthy soil
Healthy root systems need space to grow. Ensure your prepped area includes at least 4 to 6 inches of quality soil free from compacted rocks. This foundation supports deep rooting, faster establishment, and long-term lawn health.
Best sod varieties for challenging soil conditions
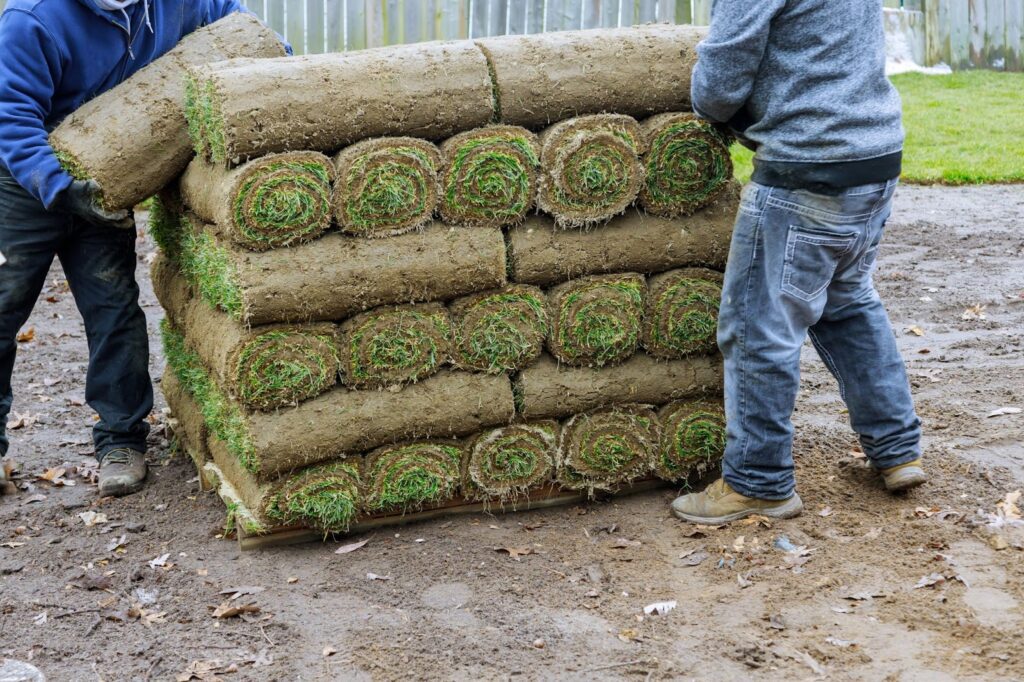
Choosing the right sod makes all the difference when dealing with rocky, compacted, or nutrient-poor soil. Some grass types handle tough environments better than others due to their strong root systems and adaptive growth habits. Start with sod varieties known for durability, drought tolerance, and soil adaptability.
Tall fescue
Tall fescue thrives in various conditions and performs well in poor or rocky soils. Its deep root system allows it to draw moisture and nutrients below the surface, improving its resilience during heat and drought. This variety also tolerates moderate shade and foot traffic, making it ideal for both residential and commercial properties with challenging soil.
Kentucky bluegrass blends
While Kentucky bluegrass prefers nutrient-rich soil, many growers offer blends that combine it with more rugged grasses like perennial ryegrass or fine fescue.
These mixes create a lush, fine-textured lawn with improved tolerance for less-than-ideal conditions. Blended varieties promote quick establishment, especially when paired with proper soil prep and consistent watering.
Drought-tolerant options
Consider varieties like Bermuda grass or drought-tolerant fescue blends in arid regions or areas with inconsistent irrigation. These grasses maintain color and density with minimal water, which reduces maintenance and prevents stress during dry spells. Strong drought resistance also helps roots survive in compacted or rocky areas with low moisture retention.
Local recommendations matter
No one-size-fits-all grass exists for every yard. Soil type, elevation, sun exposure, and climate all influence sod performance. Speak with local sod experts who understand regional growing conditions and can recommend the best match for your specific site.
Professionals often carry climate-adapted varieties and provide insights into preparation and care that improve long-term lawn success.
Common mistakes to avoid
Even with the right sod and a good plan, small missteps during installation can lead to disappointing results. Avoid these common mistakes to help your lawn establish strong roots and stay healthy.
Placing sod directly on rocky or compacted ground
Laying sod over unprepared rocky soil blocks roots from reaching essential nutrients and moisture. Without loose, amended soil beneath, the sod struggles to root and quickly shows signs of stress. Always clear large rocks and break up compacted areas before installation.
Skipping soil amendments
Healthy soil supports healthy turf. Many homeowners skip the step of improving their soil, hoping sod will cover up the problem. In reality, poor soil leads to poor performance. Mix in compost or high-quality topsoil to increase water retention, add nutrients, and improve structure.
Choosing low-quality sod
Sod with weak roots or poor health fails to establish properly. Avoid using sod that looks dry, brittle, or uneven. Instead, select fresh, locally grown sod with a dense root mat. Healthy sod adapts quickly and shows stronger resistance to disease and drought.
Neglecting watering and fertilization
New sod needs attention in the first few weeks. Inconsistent watering or a lack of nutrients slows down root development. Water the lawn lightly but frequently during the first two weeks, then gradually reduce frequency while increasing depth. Apply a starter fertilizer with phosphorus to promote healthy roots and support establishment.
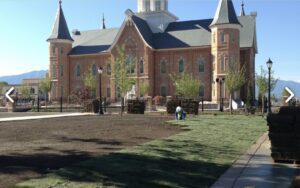
Set your lawn up for success with Monarch Sod
To maximize your investment, partner with experts who understand Utah’s unique soil conditions. Monarch Sod grows premium, locally adapted sod varieties designed to thrive in challenging landscapes.
Whether you’re dealing with rocky terrain, compacted ground, or unpredictable weather, Monarch provides fresh, vigorous sod and professional advice to ensure lasting results.
Don’t let rocky soil stand in the way of your dream yard. Contact Monarch Sod today for expert guidance, fast delivery, and the lush, green lawn your property deserves.