


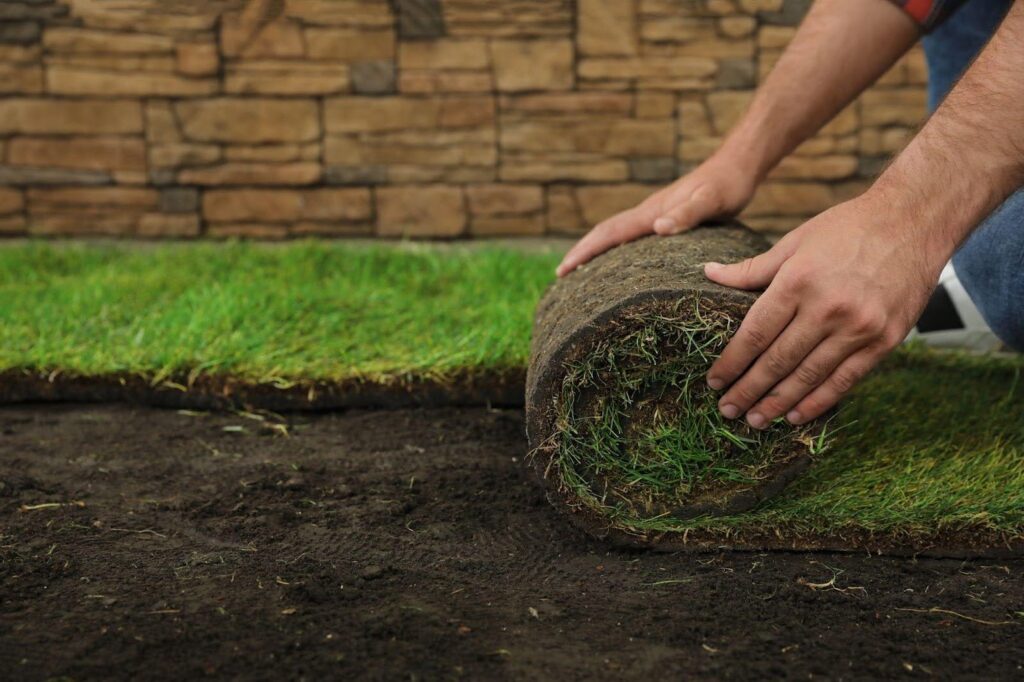
If you’re planning to prepare soil for sod, the most important step happens before a single roll touches the ground. How you prepare to install sod makes all the difference between a thriving, healthy lawn and one that struggles to take root.
Skipping soil preparation leads to poor drainage, uneven growth, and a lawn that requires more water, fertilizer, and maintenance in the long run.
Proper preparation gives sod the strong start it needs. From clearing debris and testing the soil to grading and amending with nutrients, every step helps your new lawn establish more quickly and grow thicker.
Whether you’re replacing patchy grass or starting fresh, this guide will show you how to get your soil in top shape so your sod lays smoothly, takes root quickly, and stays green all season long.
Part one: Test and clear off the soil
Before laying a single roll of sod, it’s important to prepare the soil properly. The steps you take now will determine how well your lawn roots grow and hold up over time. Whether you’re installing sod in Utah’s dry, high-desert climate or another region with its own challenges, knowing how to prepare soil for sod ensures your investment pays off.
When you prepare to install sod correctly, you create the ideal conditions for healthy grass that grows strong from the start. Follow these essential steps to provide your lawn with the solid foundation it needs.
Test your sample
The first step in preparing for new sod is to test your soil. A soil test helps you determine what you need to add to your soil, so it’s healthy and ready for sod.
Fill a bucket with the top four to six inches of your soil from many different spots (about 10) in the area in which you’re laying down sod. Remove any weeds or leaves from the soil.
Contact your local extension office to see how to submit your sample. It’s best to send the sample about a month before laying down sod; this gives you plenty of time to receive the results.
Clean off any debris on the soil
Pick up any rocks, branches, or other objects on your soil before laying down sod; otherwise, it could interfere with the sod’s growth. Plus, any objects will make the sod look lumpy and uneven.
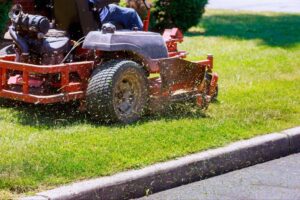
Kill off weeds and existing grass with an herbicide
It’s much easier to control weeds before laying sod, so look for a product like glyphosate and follow the directions. Apply it a month before sod installation. Depending on the herbicide you’re using, you may need to apply it multiple times, spaced two to four weeks apart.
Part two: Grading your soil
Once your soil is cleared and weed-free, the next step, as you prepare to install sod, is shaping the ground for healthy drainage and even growth.
To properly prepare soil for sod, you’ll need to level the surface, eliminate dips and high spots, and create a slight slope away from buildings. These grading steps are especially important when laying sod in Utah, where soil conditions and water management play a significant role in long-term lawn success. Here’s how to get it right.
Smooth out any mounds or high spots on the soil
Use an iron rake or shovel and break apart any high points. Next, spread the broken-up dirt evenly around the area to level it with the rest of the soil.
Fill in any dips in your soil
To prevent water build-up and impact the appearance of the sod, fill in the dips in your soil; failing to do so can kill your new grass. Push dirt into the low spots with a rake, so it’s level with the soil.
Slope the soil away from any buildings nearby
You want the water to drain away from the buildings rather than pooling next to them. If you have a small area, use a rake and shovel to slope the soil. In a large area, you may need to use a tractor equipped with a grading blade to achieve the desired results. For every 100 feet of soil, slope the soil so it drops one to four feet.
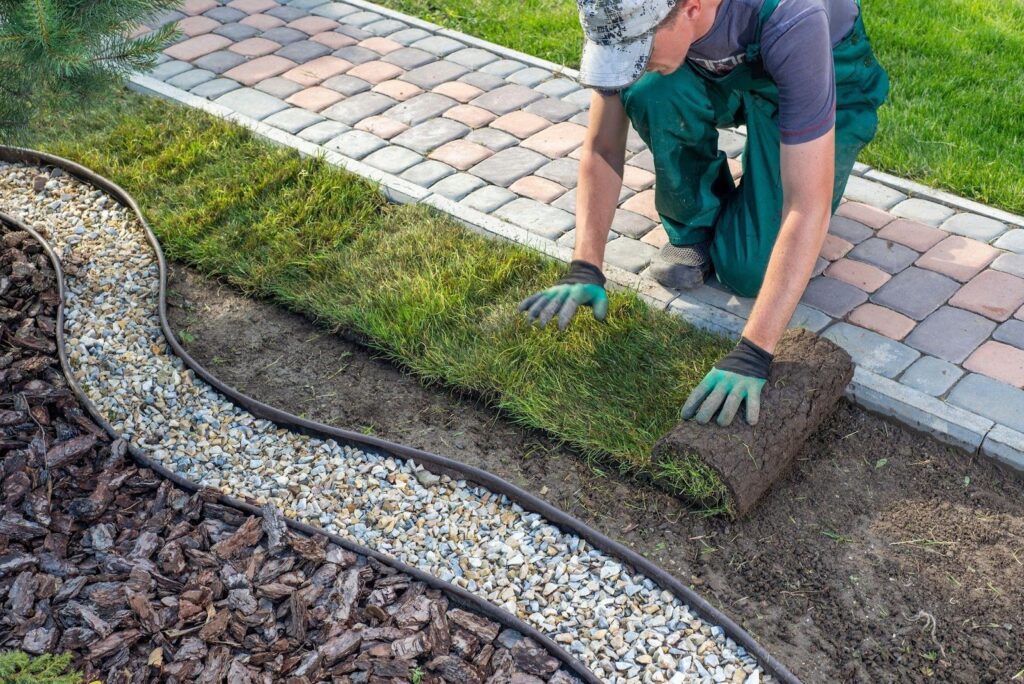
Part three: Tilling and smoothing your soil
After grading your yard, the last step to prepare soil for sod is enriching and finishing the surface so your new grass can root quickly and grow strong.
To successfully prepare to install sod, you need to add topsoil, mix in fertilizer based on your test results, and create a smooth, slightly compacted surface. These steps are especially important when laying sod in Utah, where soil can be dry, compacted, or low in nutrients.
Here’s how to fine-tune your soil so it’s fully ready for a healthy, long-lasting lawn.
Add a 6-inch layer of topsoil over your existing soil
Doing this makes your soil healthier and helps your sod grow. It doesn’t matter which topsoil you use. You can also use manure or compost if you are unable to obtain topsoil.
Add fertilizer after receiving your test results
Once you know what nutrients your soil lacks and what recommendations come back from your soil test, you can find a fertilizer that meets them. Apply it to the layer of topsoil you lay down.
Fill the top 4 inches of soil with a rototiller
Tilling the ground helps mix the topsoil and add fertilizer, while also loosening the dirt. This makes it easier for the sod roots to attach underground. Avoid tilling the soil more than once or twice, as this can damage the soil structure.
Fine-grade the soil with a dense mat
The process involves packing and smoothing the soil before laying sod over it. Drag a heavy mat over the soil surface several times until it is smooth. Use a lawn roller if you have a large area to cover. Note that packing down the soil too much will prevent the roots from attaching properly.
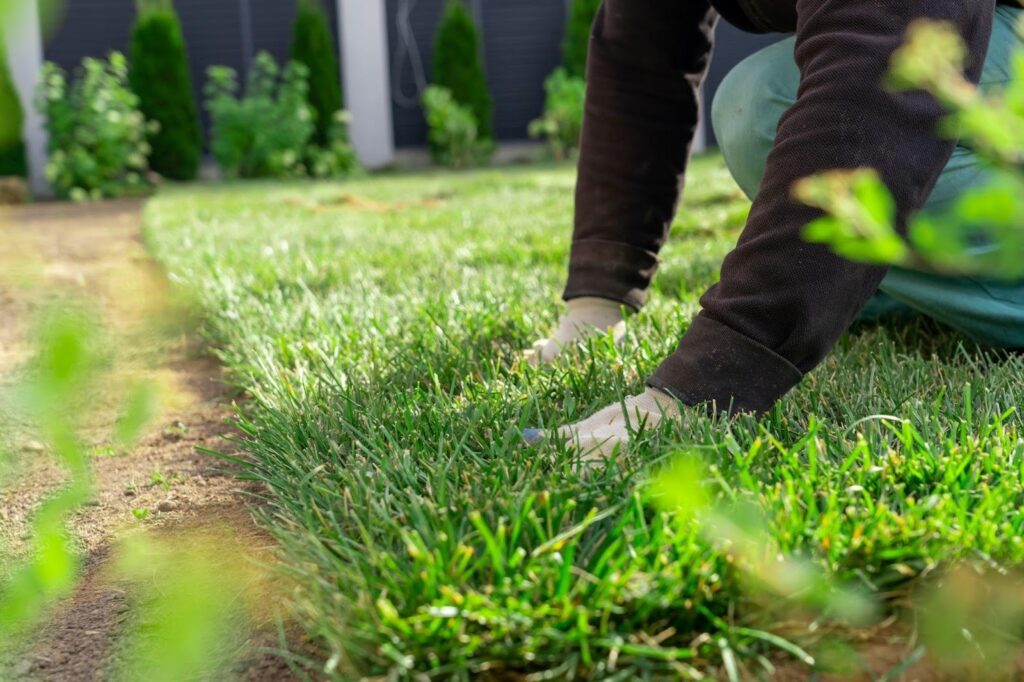
Water before you lay down sod
Water your soil, so it’s damp, not soaked. If it gets muddy, wait until it’s dry.
Call Monarch Sod to order
Start your new lawn the right way — with help from Utah’s sod experts. When you prepare to install sod, every step matters. From the moment you prepare the soil for sod to the final roll being laid, proper planning ensures long-lasting results. At Monarch Sod, we offer premium sod in Utah, specifically grown for local conditions and backed by expert advice.
Whether you’re replacing an old lawn or starting from scratch, we’re here to make sure your sod establishes quickly and grows strong. Our team can help you select the right grass, understand your soil’s needs, and avoid common mistakes that lead to poor results.
If you want a green, healthy lawn that lasts through Utah’s seasons, trust Monarch Sod to deliver the quality and support you need. Contact Monarch Sod today, and let’s get your yard ready for success.