







New sod needs prepared soil, tight seams, immediate watering, careful fertilizer timing, and steady follow-up care. The best results come from fixing soil, grading, drainage, and sprinkler coverage before delivery. Starter fertilizer supports root growth, but watering, soil contact, and timing have the biggest effect during the first few weeks of sod care.
What to know before installing new sod
New sod gives your yard a clean start, but it still needs the right setup to take root. Soil condition, grading, watering, fertilizer timing, and Utah weather all affect how well the lawn establishes. This guide walks through practical sod installation, smart sod fertilization, and the sod care steps homeowners should follow after the lawn is in place.
Preparing your yard before installation
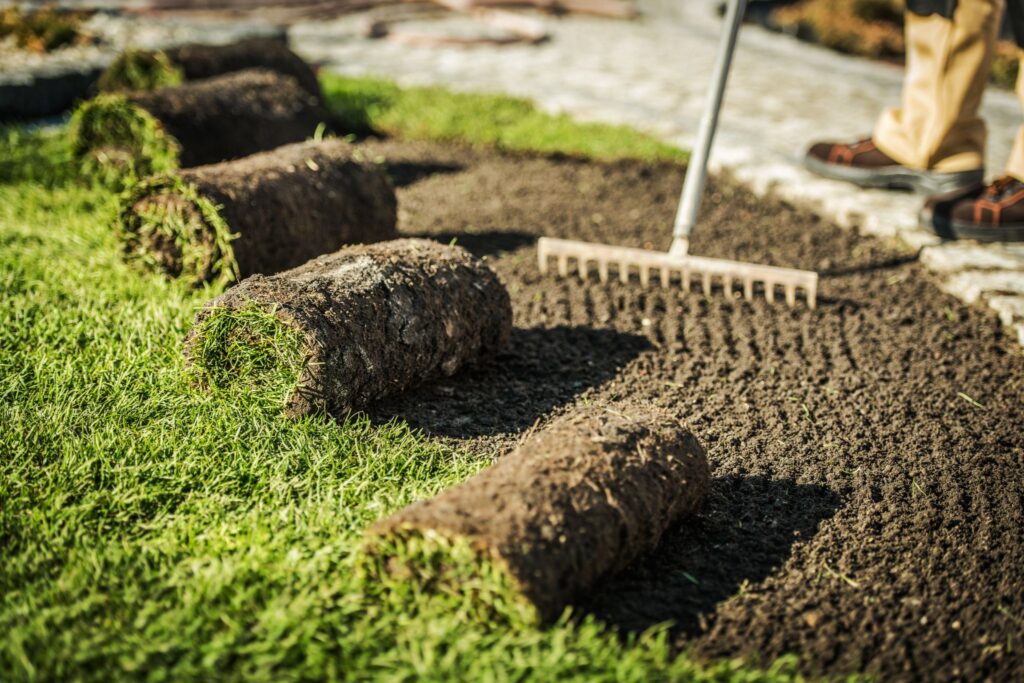
A strong lawn starts with clean, prepared soil. Sod needs direct contact with the ground so roots can grow evenly downward. Remove old grass, weeds, rocks, roots, and debris before delivery. Good prep gives sod installation a stronger start and makes early sod care easier.
Measure the area
Break the yard into simple sections and measure each one. Add a small amount of extra sod for trimming around:
- Curves
- Sprinkler heads
- Landscape beds
- Sidewalks and driveways
- Fence lines and hardscape edges
A good measurement helps you order more accurately and avoid delays.
Clear and loosen the soil
Remove old turf and weeds. Rake out rocks, sticks, roots, and construction debris. Loosen the top few inches of soil so new roots have room to grow.
If the soil is hard, clay-heavy, sandy, or rocky, improve it before delivery. New sod roots more evenly when the soil is smooth, workable, and ready for water to move through it.
Check the grade and sprinklers
Shape the grade so water moves away from the home and doesn’t collect in low spots. Test every sprinkler zone before sod arrives. New sod dries out quickly when one area misses water, especially in Utah’s dry air and wind.
Before installation, give the soil enough water to hold moisture without leaving soft, messy spots.
How to install sod correctly
Fresh sod should be installed soon after delivery. Rolled sod heats up, dries out, and weakens if it sits too long, especially during warm weather. Finish soil prep, sprinkler checks, and grading before delivery to keep the work moving quickly.
Start with a straight edge
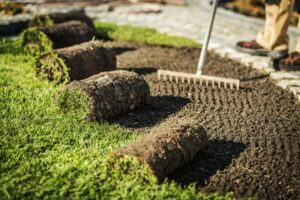
Begin along a driveway, sidewalk, fence, or patio. Lay each piece tightly against the next one with no gaps or overlaps.
Stagger the seams like brickwork so the edges don’t line up in long rows. This helps the sod settle in evenly.
Trim carefully
Use a sod knife to trim around sprinkler heads, curves, beds, and edges. Don’t stretch sod pieces to make them fit. Stretched sod shrinks back and leaves gaps after the lawn settles.
Work one section at a time and keep the pieces tight as you go.
Water right away
After the sod is down, press or roll it lightly to improve contact between the sod and soil. Water immediately after installation so moisture reaches the soil below. This early watering step is one of the most important parts of sod care.
For small, simple areas, many homeowners handle sod installation themselves. Larger yards, slopes, tight access, poor grading, or sprinkler issues may call for professional help.
What makes installation harder
Most problems start before the sod is laid and are easier to fix then, too. Check the soil, grade, sprinklers, and access before delivery day.
Soil and grading issues
Some yard conditions make it harder for sod to root evenly, including:
- Compacted soil
- Rocky soil
- Leftover construction debris
- Old grass or weeds
- Low spots
- Uneven transitions near concrete
- Steep slopes
Compacted soil keeps roots from growing down. Rocky soil or leftover debris creates bumps and weak contact. Old grass and weeds block the sod from touching the soil.
Low spots may stay soggy, while high spots may dry out faster. Steep slopes can cause sod to slide or water to run off before it soaks in.
Sprinkler problems
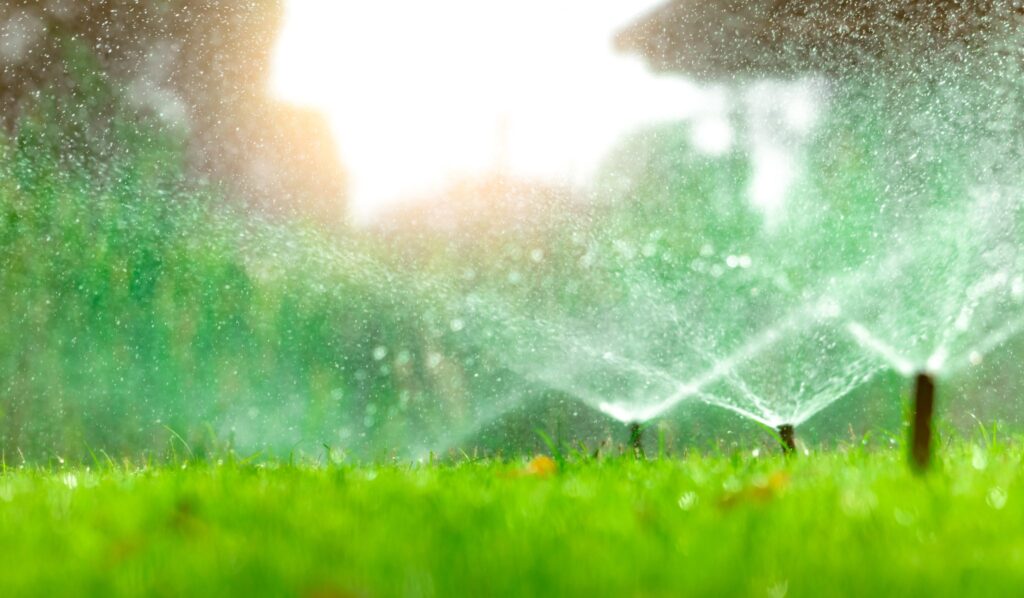
Sprinkler problems often appear quickly after sod installation. A broken head, blocked spray pattern, low pressure, or dry strip can cause one section of sod to turn brown while the rest looks healthy.
Run every zone before delivery and watch how the water hits the yard. Look for missed strips, overspray, pooling, or weak coverage near edges and corners.
Utah weather and soil conditions
Utah conditions make these issues more noticeable. Dry air and wind pull moisture from seams and edges. Clay-heavy soil stays wet near the surface. Hot sidewalks and driveways can also dry nearby sod faster than the middle of the lawn.
How to fertilize new sod
Fertilizer works best when the sod has damp soil, solid soil contact, and the right nutrients for the yard. New sod is already adjusting after harvest, delivery, and installation. That’s why sod fertilization should match the yard’s soil conditions instead of a general lawn schedule.
Start with the soil
When possible, start with a soil test. A soil test shows pH, nitrogen, phosphorus, potassium, and organic material levels.
That information helps you choose a fertilizer that fits the yard and avoid adding nutrients the soil already has.
Use starter fertilizer carefully
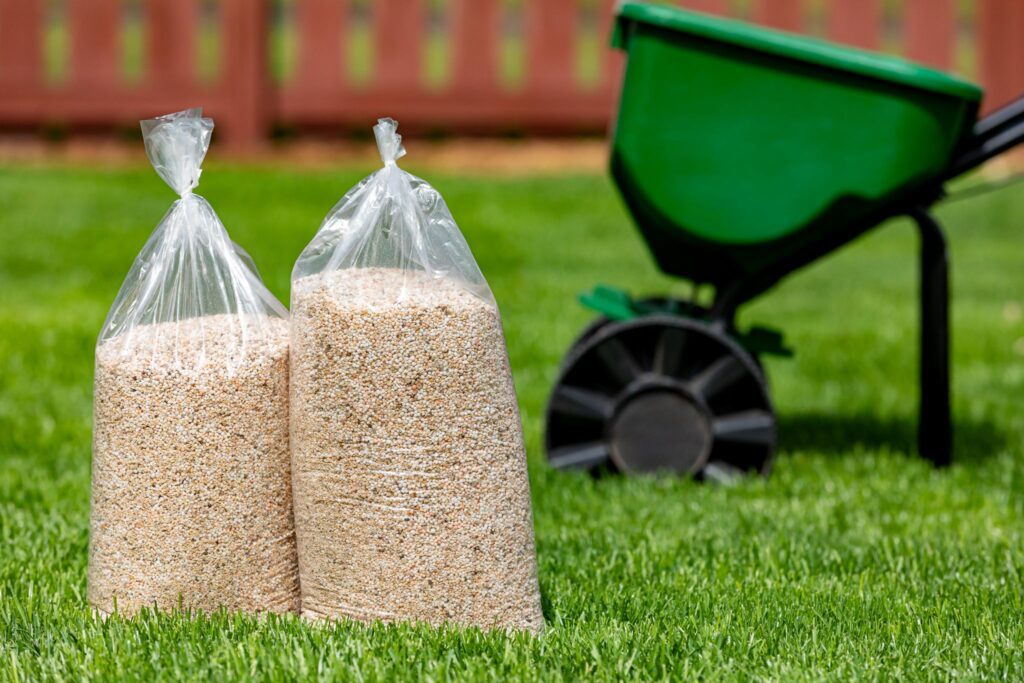
Starter fertilizer is often used for new sod because it supports early root development. Many starter fertilizers include phosphorus, which helps root growth when the soil needs it, and local guidance allows it. Always follow the product label and any local rules.
Starter fertilizer is different from regular lawn fertilizer, which focuses more on blade growth and color.
Avoid common fertilizer mistakes
Sod fertilization may happen during soil prep, on installation day, or shortly after installation, depending on the site and product. The right timing helps the lawn use nutrients without adding extra stress.
Avoid:
- Overfertilizing
- Applying heavy nitrogen too early
- Fertilizing dry sod
- Spreading fertilizer unevenly
- Using weed-and-feed products too soon
- Ignoring the product label
Care after installation
The first few weeks of sod care focus on water, roots, and light traffic. Water the new sod immediately after installation, then keep it consistently moist as roots begin to grow into the soil.
Watch the moisture level
Check moisture by lifting a corner of the sod and feeling the soil underneath. The soil should feel moist without staying sloppy or dry.
Several conditions change how quickly sod dries out, including:
- Heat
- Wind
- Shade
- Slope
- Soil type
- Sprinkler coverage
- Nearby concrete
Keep traffic light
Keep kids, pets, and equipment off the new lawn as much as possible. Foot traffic can shift sod pieces, leave dents, and slow rooting.
Wait to mow until the sod has rooted enough that it doesn’t lift when gently tugged. When you mow, use a sharp blade and remove no more than one-third of the grass height.
Ease into normal lawn care
Don’t rush into a full seasonal fertilizer schedule. After the sod has rooted, grown steadily, and been mowed a few times, move to a standard plan based on grass type, season, and soil conditions.
Watch for early warning signs, including:
- Dry seams
- Uneven color
- Soggy spots
- Missed sprinkler areas
- Curling edges
- Areas that lift too easily
Troubleshooting new sod problems
Brown or gray-green areas
Common causes include dry soil, missed sprinkler coverage, heat or wind, and poor soil contact. Lift a corner and check the soil beneath. If it’s dry, adjust watering first.
Yellowing sod
Common causes include too much or too little water, poor root contact, compacted soi, and fertilizer stress. Check the full area before making changes.
Curling seams
Common causes include dry edges, gaps between pieces, and wind exposure. Water the seeds carefully and keep the pieces tight.
Squishy soil
Common causes include overwatering, poor drainage, and low spots.
Cut back watering if the soil stays muddy.
Sod isn’t rooting
Common causes include poor soil contact, inconsistent moisture, too much traffic, and compacted soil.
Check whether the sod is evenly touching the soil.
FAQ
How soon should I water new sod after installation?
Water the new sod immediately after installation. Soak the sod and the soil below it. Lift a corner to check moisture and keep watering if the soil still feels dry.
Should I fertilize new sod right away?
Starter fertilizer may be used before or during installation, provided it’s compatible with the soil and product directions. Avoid heavy nitrogen early unless a soil test or a professional recommends it.
Is there a trick to laying sod?
Yes. Keep seams tight, stagger the pieces, press the sod into the soil, and water right away. Don’t stretch pieces to fit.
What are common sod installation mistakes?
Common mistakes include poor soil prep, gaps between pieces, late watering, weak sprinkler coverage, mowing too early, and heavy traffic too soon.
Can you just lay sod down on dirt?
Yes, but the dirt needs to be prepped first. Clear weeds and debris, loosen the soil, level the area, check sprinklers, and water after installation.
Contact Monarch Sod for installation and care guidance
Successful sod starts before installation day. Prepared soil, tight seams, immediate watering, careful fertilizer timing, and steady aftercare all help the lawn establish. If you are planning a new lawn, contact Monarch Sod for fresh sod delivery, sod installation help, and practical guidance on getting your yard ready.